Create fire, find canned food, scavenge for raw foods, gather goods, find clean water sources, and pray.
EXERCISE
The Heater Exercise*
Part 1
Make a list of fire fuels in your everyday life that can be used to make a heater.
Part 2
From the items in your fire fuel list, experiment and build a series of heaters each using different materials.
Part 3
For the heaters you make, come up with a name, write out the ingredients, a simple set of instructions, the pros/cons, cost and duration for each.
*Emergency use only: when fingers or toes are in jeopardy of frostbite.
RESPONSE
Part 1
Wood, paper, tree sap, pinecones, liquid gas, petroleum products, hand sani- tizer, dryer sheets, shirts, sticks.
Part 2 & 3
INGREDIENTS
- Good long thick stick.
- Shirt/piece of clothing (polyester burns better).
- Knife or cutting instrument.
- Lighting source.
STEPS
- Cut the shirt into long strips, but make sure the pieces don’t come off.
- Wrap strips around the stick, weaving them so they don’t fall off.
- If earth is available, bury the stick into the ground. If not, find a way to prop up the stick so it doesn’t fall.
- Light the stick.
PROS: Easy to get ingredients. You can find them in any free box. With a good stick you can burn shirts all day.
CONS: Labor intensive. Loud. Might get the police called if in public view.
COST: Free.
DURATION: 30 minutes or longer for one shirt.

INGREDIENTS
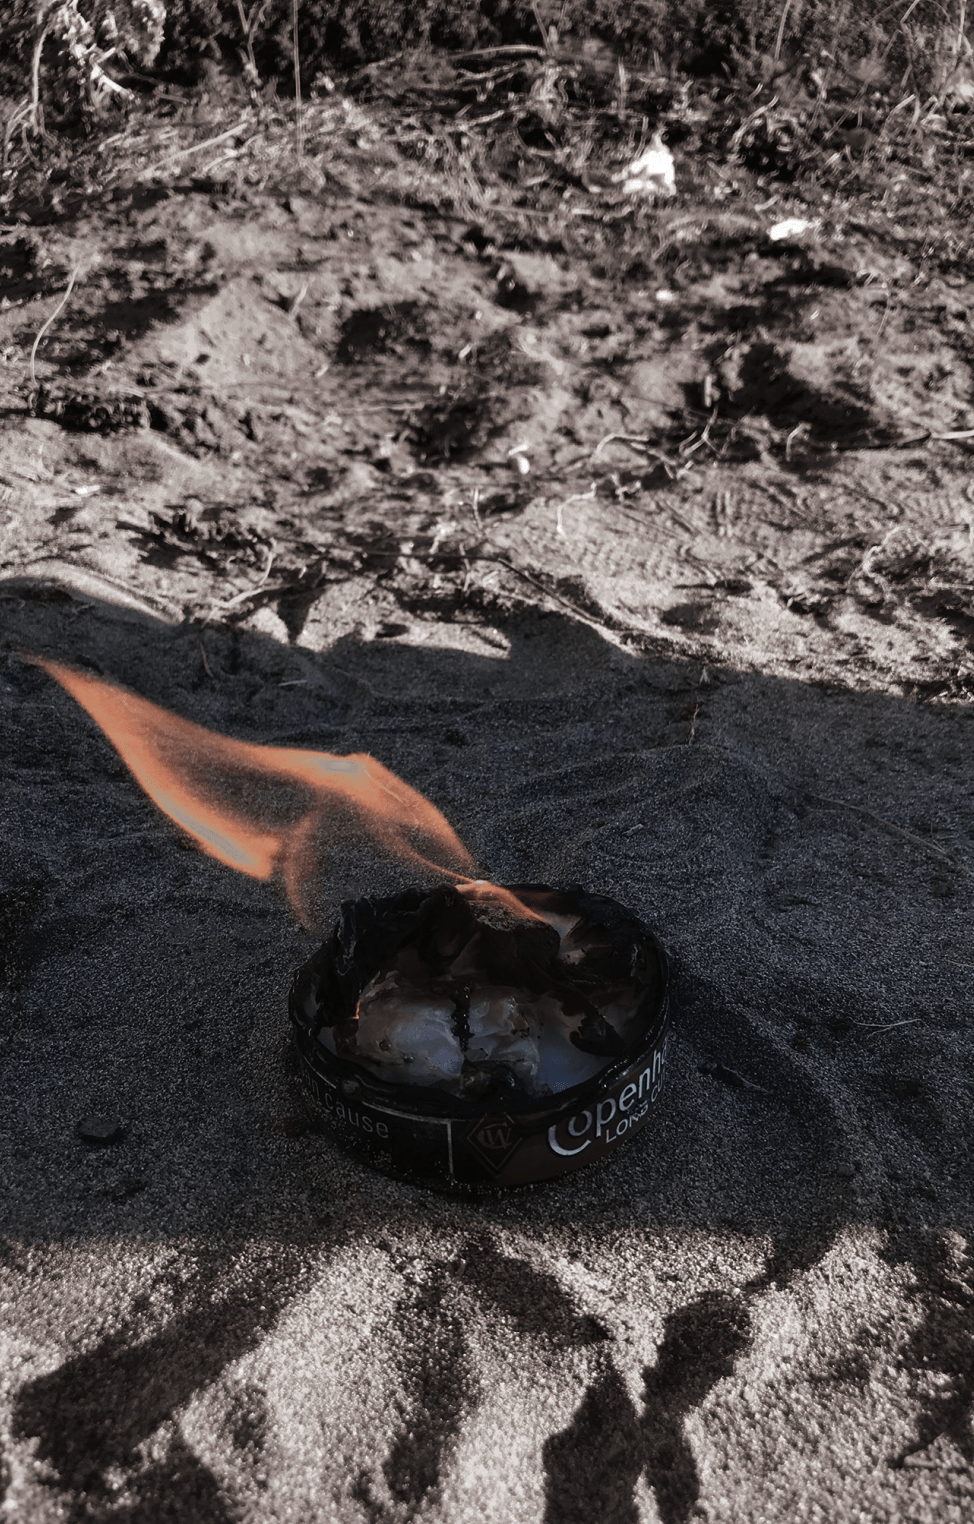
- Copenhagen can, empty.
- Dryer sheets, six or more.
- Lighting source: matches, lighter, zippo, butane torch, or propane torch.
- Liquid gas (optional).
STEPS
- Open the snuff can and take the top off, exposing the inside.
- Stuff the can with as many dryer sheets as you can fit.
- Make a long thin cut in the top of the snuff lid.
- Put the top dryer sheet through the opening in the snuff can, like a box of tissues.
- Put the lid back on. Can be stored for later use.
- Light the top sheet like a candle wick. If the heater doesn’t catch cor- rectly, add liquid gas to the candle wick and light again.
PROS: Easy. Once made can be stored for later use.
CONS: Expensive. Bad smell.
COST: $5-10, free if found.
DURATION: 20 minutes

INGREDIENTS
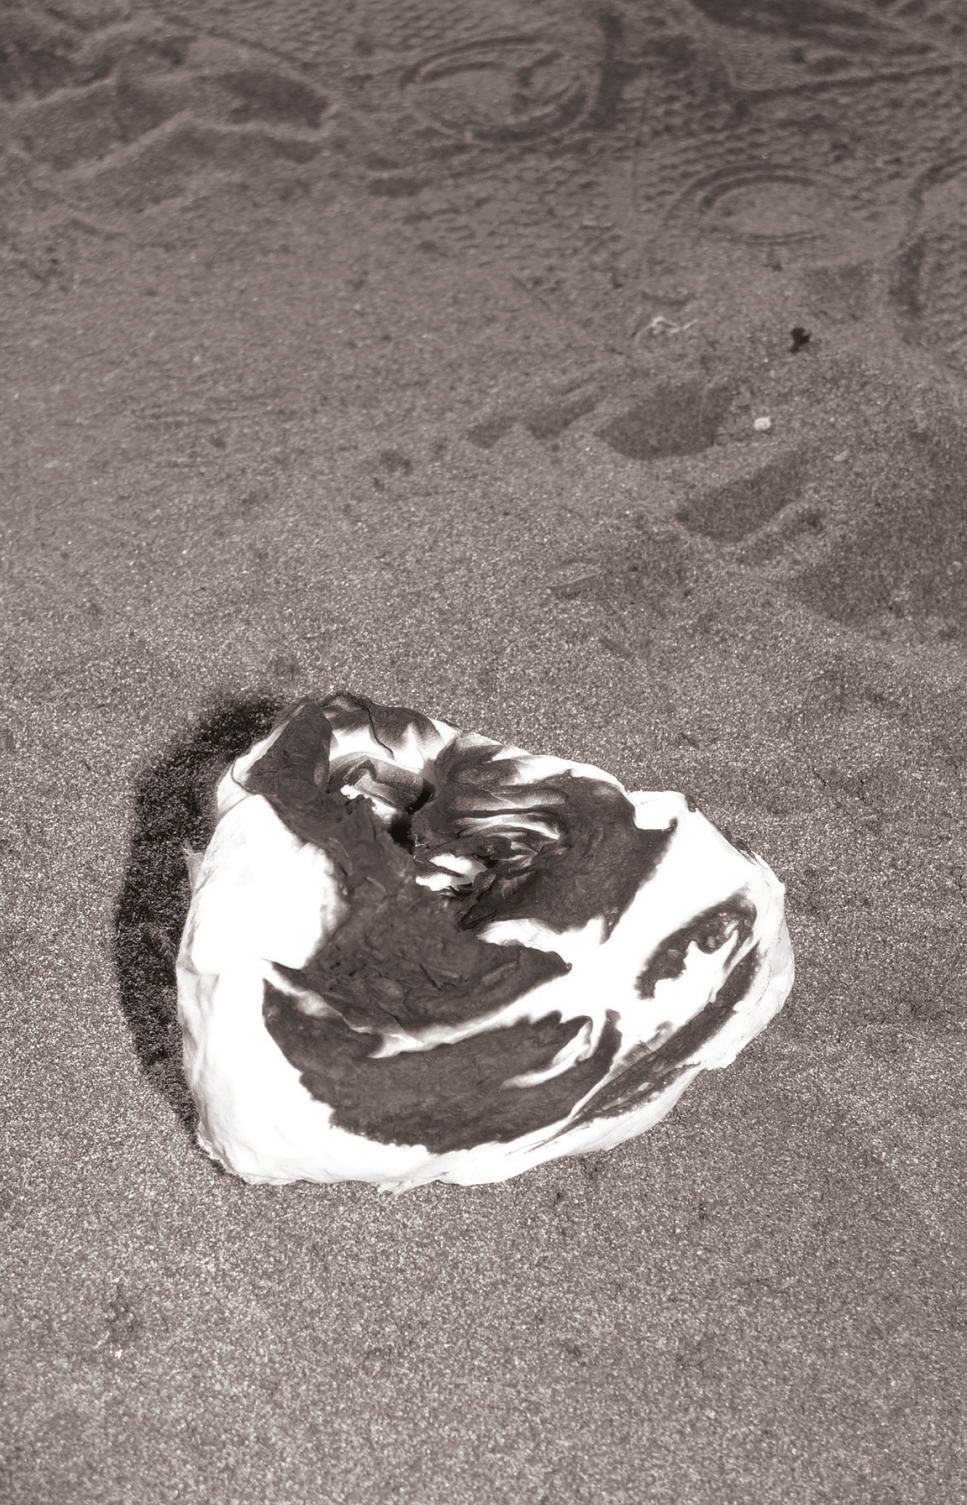
- Toilet paper roll.
- Lighting source.
STEPS
- Wrap TP around an outstretched hand 20 times or more.
- Roll and tuck the bottom of the TP wrap to make a donut shape.
- Light the bottom of donut.
PROS: Easy. Cheap. Once made can be stored for later use.
CONS: Short time usage.
COST: $1, free if found.
DURATION: Three to five minutes.

INGREDIENTS
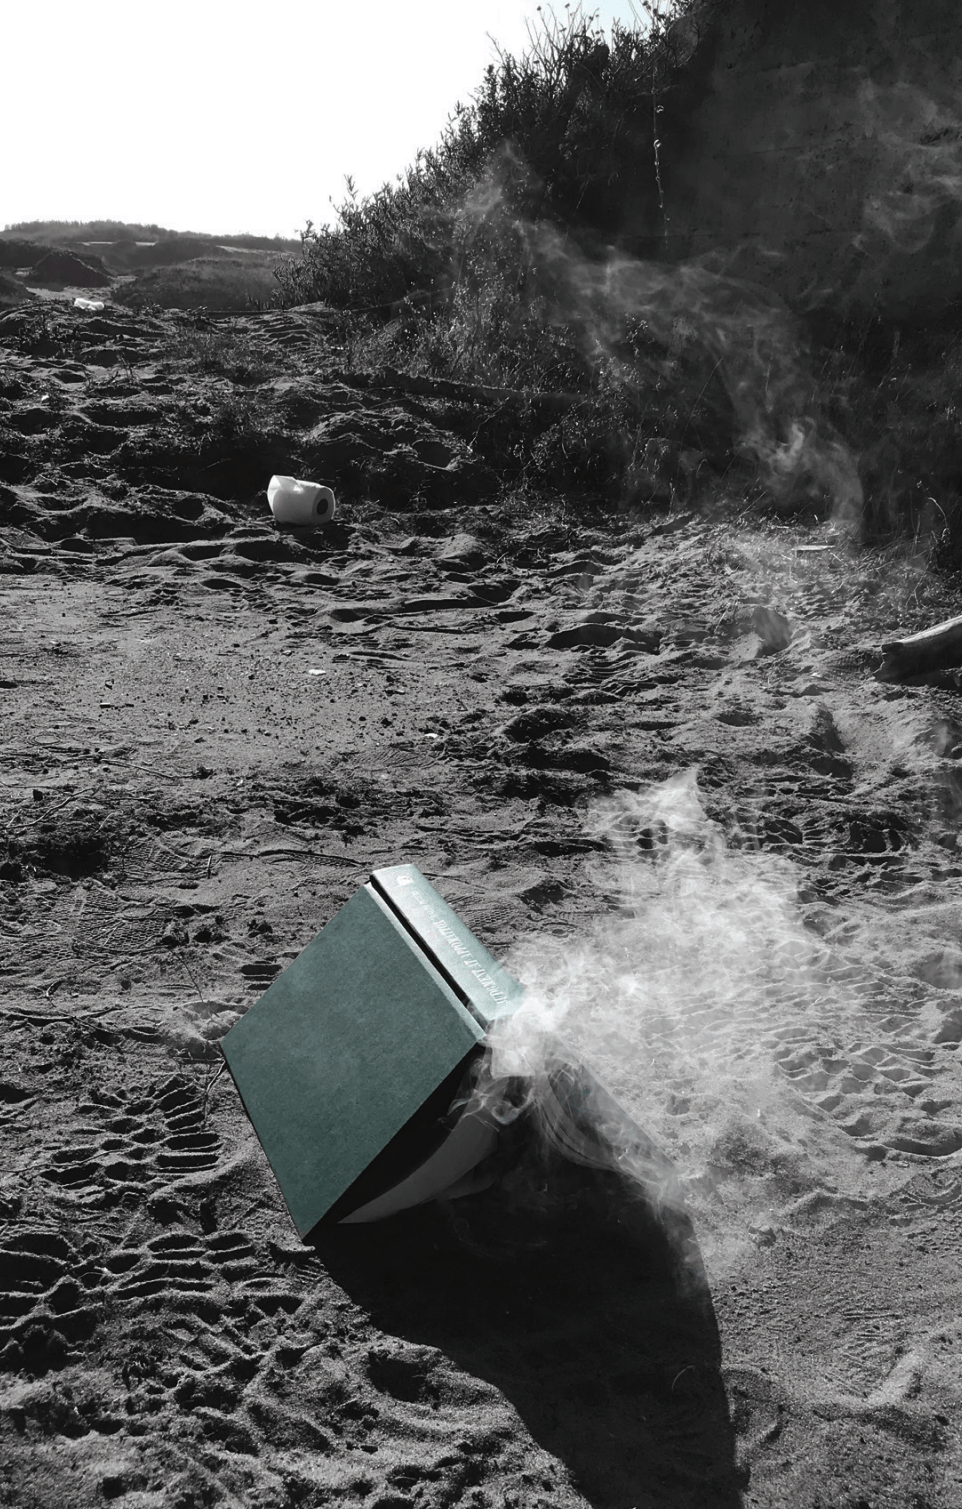
- Hardbound book, large, thick equals more pages.
- Lighting source.
STEPS
- Take a book, crinkle ten of the middle pages.
- Set the book down open at the center in a pyramid shape, with wrinkled pages open.
- Light wrinkled pages at center.
PROS: Easy to get ingredients. You can find them in any free box or library. Last awhile.
CONS: Guilt trip, it feels bad to burn a book, unless it’s the Bible. I’ve burned the Bible many times. Don’t burn any Dr. Seuss!
COST: Free.
DURATION: Up to one hour, depending on the thickness and size, more or less.

INGREDIENTS
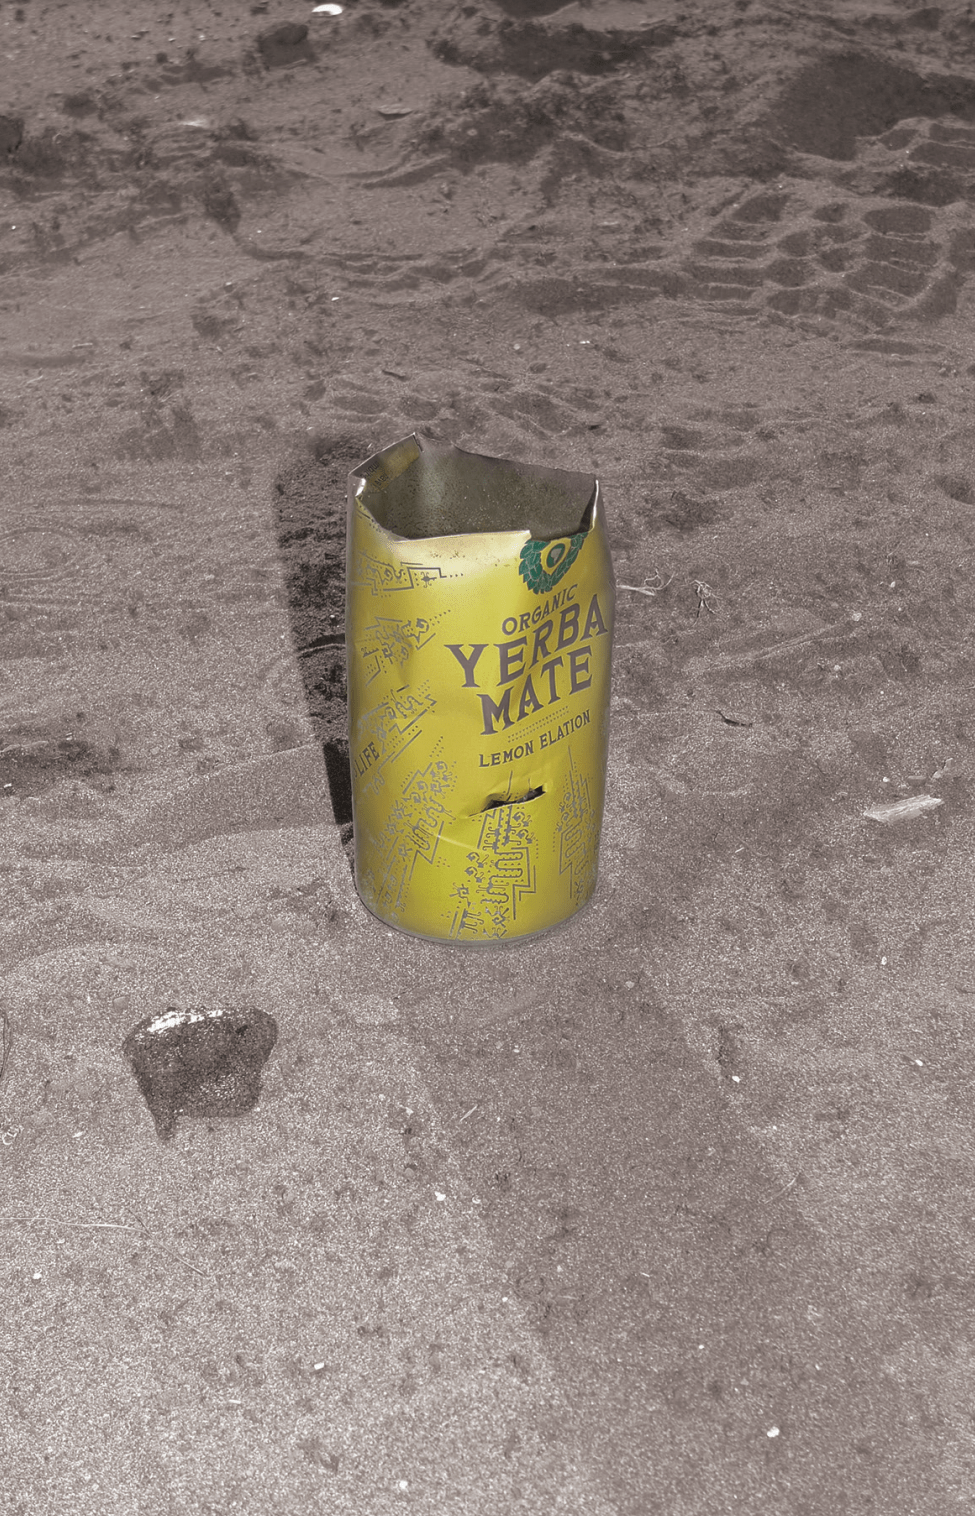
- Hand sanitizer - 12oz.
- Can: Empty Campbell Soup can or any metal can could substitute.
- Use a tuna fish can as a lid for it.
STEPS
- Cut top off Campbell Soup, after eating, or if already empty.
- Cut three holes into the sides of the top end of the can for air flow.
- Cut multiple holes into the top of the tuna can.
- Pour sanitizer inside, 1/4 full.
- Light sanitizer with lighting source.
- Put tuna can on top with holes facing up.
PROS: Easy to get ingredients. Long burn, cheap.
CONS: Smells bad, fire could get away, liquid.
COST: Free from donations box. Don’t let them know you are burning it.
DURATION: 30 to 45 minutes.